
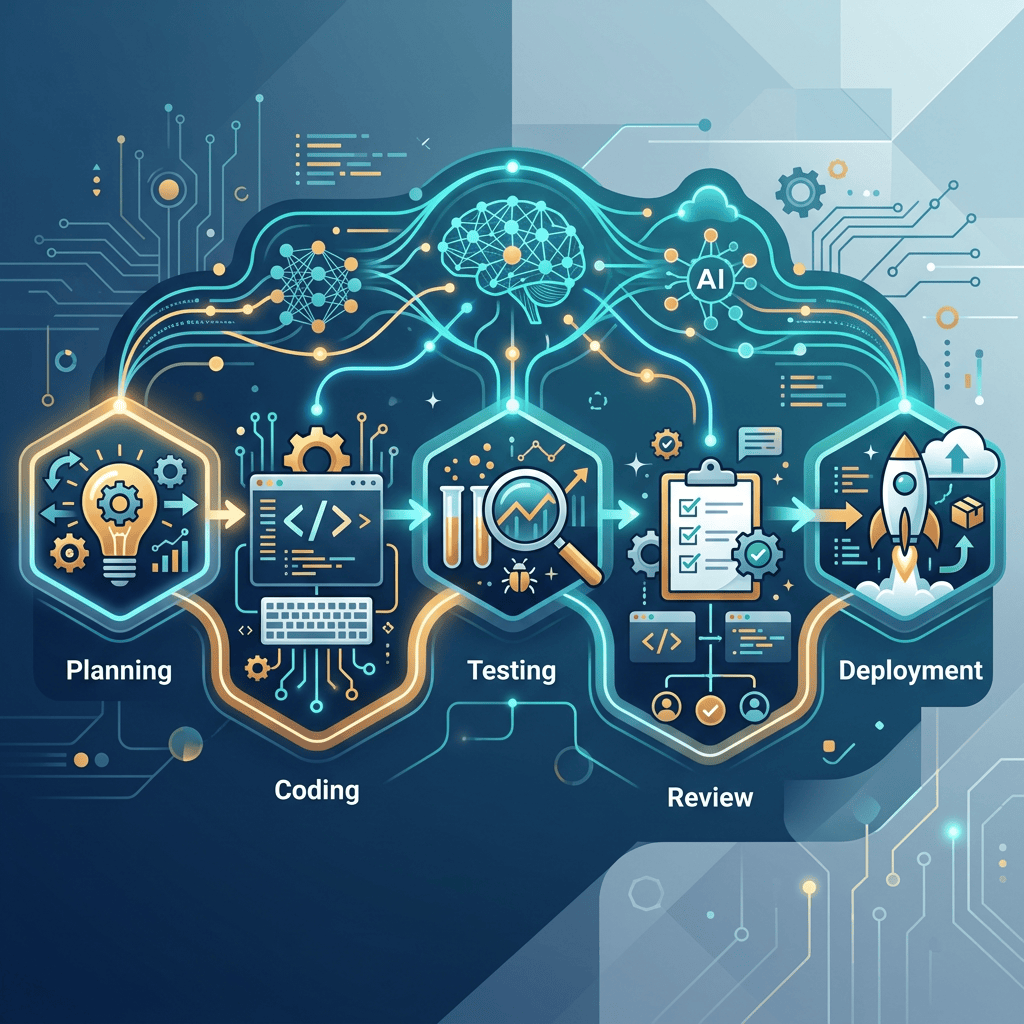
A practical guide for AI strategists, solution architects, and engineering teams who want to move beyond AI-assisted coding and introduce repeatable AI-driven software development workflows.
In my previous article introducing the AI SDLC Workflow Harness Manager, I discussed an important shift taking place in software engineering: organizations are moving from adopting individual AI coding assistants toward establishing a repeatable operating model for AI-assisted software delivery.
But understanding the idea is only the first step.
How do you introduce this approach into an existing development environment? How do you connect it to your preferred coding agent? And how do you establish reusable workflows without embedding your entire engineering process into one particular IDE?
This article walks through the practical setup.
We will install the AI SDLC Workflow Harness Manager, select a supported coding-agent integration, initialize an application repository, configure the project-specific instructions, and validate that the environment is ready for structured AI-assisted development.
The goal is straightforward: by the end of this guide, you should have a coding-agent environment connected to a reusable AI-SDLC workflow pack, ready for a controlled first experiment.
GitHub repository: ai-sdlc-workflow-harness-manager
1. Understand What You Are Configuring
Before installing anything, let’s distinguish three components.
The coding agent
This is the AI-powered development environment your engineers already use. Depending on your team, this might be Cursor, Claude Code, or GitHub Copilot CLI.
It provides the interface through which developers interact with AI.
The workflow harness
The AI SDLC Workflow Harness Manager provides a reusable pack containing workflow definitions, specialist instructions, skills, rules, and supporting configuration.
Instead of keeping your engineering process inside one IDE’s configuration directory, the harness separates the process from the tool used to execute it.
The application repository
This is the actual product your team is developing.
The harness is installed into the application repository, while the coding agent uses the integration to discover the appropriate workflow and follow its instructions.
Conceptually, the architecture looks like this:
Developer | vCoding Agent / IDE | vrun-workflow adapter | vAI-SDLC Workflow Harness | +-- Workflow definitions +-- Specialist instructions +-- Rules and skills +-- Project configuration +-- Context and loading controls | vApplication codebase
The important distinction is that the coding agent and the workflow process are separate concerns.
You can change your coding environment without needing to redesign the entire workflow pack.
The repository documents integrations for Cursor, Claude Code, and GitHub Copilot CLI, along with a no-IDE option for appropriate scenarios. This is workflow portability with documented adapters—not a claim that every editor is automatically supported.
2. Step One: Prepare Your Development Environment
The first installation is performed on the developer machine or workstation where you intend to use the harness.
The current repository requires Python 3.11 or later. You should also have Git and either uv or pipx available for the recommended tool installation.
Check your Python version:
python --version
On some Linux and macOS installations, use:
python3 --version
Confirm Git is available:
git --version
If you use uv, you can check its availability with:
uv --version
If you prefer pipx, check that it is installed and available on your system’s PATH.
Choose whichever installation mechanism fits your existing Python tooling. You do not need to clone the harness repository just to use the default workflow kit.
A note for enterprise teams
Before introducing the harness into a production repository, review your organization’s requirements for Python tools, source-code access, package installation, execution permissions, and third-party AI services.
Start with a non-production or sandbox repository if you are evaluating the approach for the first time.
3. Step Two: Install the AI SDLC Workflow Harness Manager
The repository documents two recommended ways to install the CLI.
Option A: Install with uv
uv tool install git+https://github.com/digitalneedstech/ai-sdlc-workflow-harness-manager.git
Option B: Install with pipx
pipx install git+https://github.com/digitalneedstech/ai-sdlc-workflow-harness-manager.git
Both approaches install the pipeline-kit command-line tool from the public repository.
Once installation completes, verify that the command is available:
pipeline-kit --version
You can also inspect the available commands:
pipeline-kit --help
If the command is not recognized, check that your tool’s executable directory is on your PATH and that you are invoking the command from the same environment in which you installed it.
At this point, you have installed the CLI. You have not yet configured a customer project.
That is the next step.
4. Step Three: Choose Your Coding-Agent Environment
The harness separates the portable workflow pack from the adapter used by a particular coding environment.
The current Customer Guide documents the following adapter choices.
| Coding environment | Adapter flag | Typical use |
|---|---|---|
| Cursor | --ide cursor | IDE-based development |
| Claude Code | --ide claude-code | Terminal or desktop agent workflows |
| GitHub Copilot CLI | --ide github | Terminal-oriented agent workflows |
| No IDE adapter | --ide none | Setup validation and appropriate shell-based scenarios |
Let’s look at how to choose the right option.
Option A: Cursor
If your engineering team uses Cursor, select its adapter.
Cursor is a convenient starting point for teams that prefer to work directly inside an AI-enabled IDE.
The harness installs its shared workflow pack into the application repository and creates the relevant run-workflow integration.
Option B: Claude Code
If your team uses Claude Code, choose the Claude Code adapter.
The workflow definitions remain in the shared .pipeline/ directory. The integration-specific skill is placed under the .claude/ directory.
This is useful for teams that prefer an agent-centric terminal or desktop workflow.
Option C: GitHub Copilot CLI
The repository also documents the GitHub adapter for GitHub Copilot CLI.
This distinction matters: the documented --ide github integration should not be interpreted as automatic support for every possible GitHub Copilot experience, extension, or editor configuration.
Check the repository’s Customer Guide for the specific integration details relevant to your setup.
Which should you choose?
For your first experiment, choose the environment your development team already understands and uses.
The objective is to evaluate the value of structured workflows—not to introduce a new IDE, a new LLM provider, and a new development methodology simultaneously.
5. Step Four: Initialize Your Application Repository
Now select a project in which you want to try the harness.
For the first experiment, choose a repository that:
- Can be built and tested locally.
- Has a reasonably clear application structure.
- Is small enough to understand the results.
- Does not require production credentials to run.
- Has a small feature or defect suitable for experimentation.
Open a terminal and navigate to the application repository.
For example:
cd /path/to/customer-app
Replace the example path with your actual project directory.
Initialize the project for Cursor
pipeline-kit init --ide cursor
Initialize the project for Claude Code
pipeline-kit init --ide claude-code
Initialize the project for GitHub Copilot CLI
pipeline-kit init --ide github
These examples use the default kit mode, which is the recommended starting point when you are learning the harness.
The installer creates the .pipeline/ workflow pack inside your application repository and adds the corresponding adapter configuration.
For the selected environment, the adapter will be associated with the relevant IDE configuration directory.
The underlying pack remains portable.
What has been installed?
The structure includes several important parts:
customer-app/|+-- .pipeline/| +-- workflows/| +-- skills/| +-- agents/| +-- rules/| +-- loader/| +-- docs/| +-- config.json|+-- .cursor/ or .claude/ or .github/| +-- skills/| +-- run-workflow/|+-- application source code
This is a conceptual view of the important directories, rather than a complete listing of every generated file.
The roles are more important than memorizing the structure:
.pipeline/holds the reusable process and workflow assets..pipeline/config.jsoncontains configuration that adapts the pack to the particular engagement.- The IDE-specific directory provides the integration used by the coding agent.
- Your application source code remains separate from the workflow machinery.
You are not replacing your application architecture or copying your entire codebase into a separate AI platform.
You are introducing a reusable workflow layer into your development repository.
6. Step Five: Validate the Installation
Do not immediately ask an agent to implement a large feature.
First, validate the setup.
For example, if you initialized the project for Cursor:
pipeline-kit doctor --ide cursor
Then inspect the workflows available in the project:
pipeline-kit workflows
For Claude Code, substitute the appropriate adapter:
pipeline-kit doctor --ide claude-code
For GitHub Copilot CLI:
pipeline-kit doctor --ide github
The diagnostic command checks the relevant installation components, while the workflow command lists the workflows available through the CLI.
Review the output and address any reported issues before moving ahead.
Why is this step important?
An installed CLI does not automatically guarantee that your coding agent can discover and use its workflow integration.
Installation, adapter configuration, and actual workflow execution are separate things. They should be validated separately.
7. Step Six: Connect the Workflow to Your Project Instructions
This is the step that turns an installed pack into a project-specific engineering setup.
The harness is generic. Your application is not.
The agent needs to understand what your project does, how to build it, how to test it, and which workflow to use for a given request.
The Customer Guide identifies two central configuration areas:
AGENTS.md, which provides project context and workflow-routing instructions..pipeline/config.json, which holds engagement-specific settings such as verification expectations, deployment targets, and tracker configuration.
Let’s consider each.
Configure AGENTS.md
Create or update an AGENTS.md file at your project’s root.
Start with a concise description of your application.
For example:
# Customer Application — Agent InstructionsThis application provides customer account management.The backend is implemented in Java and the frontend in Angular.## Build and verificationUse the repository's documented build and test commands.## Workflow routingFor questions about this repository, follow the run-workflowintegration and use the ask workflow.For product changes, fixes, or new functionality, usethe feature-development workflow.Follow the active workflow's instructions and read only thecontext and files required for the current step.
This is an illustrative starting point, not a replacement for the more complete routing guidance in the Customer Guide.
Adapt the instructions to match your actual stack, build commands, test commands, and project structure.
The key principle is to keep AGENTS.md concise.
It should explain the project and route work to the correct workflow. It should not become a giant document containing every agent instruction, skill, architecture note, and coding rule.
Those responsibilities belong in the appropriate workflow and supporting files.
Configure .pipeline/config.json
Next, review:
.pipeline/config.json
This file is the engagement-specific configuration layer.
For your first experiment, concentrate on understanding the existing configuration rather than changing every available setting.
Review which settings relate to:
- Verification and test expectations.
- Deployment targets.
- Issue-tracker intake.
- Workflow behavior and enabled integrations.
Keep credentials and secrets out of the workflow pack and its checked-in configuration.
The repository’s Customer Guide provides the field-level configuration details and explains which settings you should adapt for a customer project.
Configure the actual build and test environment
The agent must not guess how your project is built.
If your application uses Maven, Gradle, npm, pytest, or an organization-specific build system, document the real commands and ensure that they work in your development environment.
Likewise, deployment instructions must reflect your actual environment rather than an example from a different technology stack.
A well-configured harness does not eliminate the need for reliable build, test, and deployment procedures. It helps make those procedures available to the relevant workflow in a repeatable way.
8. Step Seven: Open the Repository in Your Coding Agent
After initialization and configuration, open the root of the application repository in your selected IDE or coding environment.
Confirm that the run-workflow integration is visible to the agent.
For example, depending on your chosen adapter, the integration is located under one of these paths:
.cursor/skills/run-workflow/SKILL.md
.claude/skills/run-workflow/SKILL.md
.github/skills/run-workflow/SKILL.md
Use the path associated with your chosen environment.
If the integration does not appear, return to the installation diagnostics and the repository’s IDE-specific instructions before attempting a workflow.
This is also a good point to review the generated files in source control.
Determine which pack, project instruction, and adapter files should be shared with the rest of the team. Add the appropriate configuration to version control only after reviewing it for local paths, secrets, and other environment-specific values.
The Customer Guide also recommends ignoring generated feature artifacts and pipeline state where appropriate:
features/.pipeline/state/
Apply these entries in accordance with your repository’s existing conventions and any artifacts your team intentionally needs to preserve.
For a team setup, developers should rerun the initializer when necessary on their own machines so that machine-specific interpreter configuration is correct.
9. Step Eight: Run Two Small Validation Experiments
Now we reach the most important part: checking that the coding agent can use the workflow, not merely that the files exist.
The repository’s Customer Guide suggests two useful smoke tests.
Experiment 1: Ask a question about the project
In your coding agent, ask:
How does the authentication module work in this repository?
The expected routing is the ask workflow.
Inspect whether the agent follows the workflow instructions, investigates the relevant code, and answers using the repository’s actual implementation.
Do not judge the result only on whether the answer sounds plausible.
Check whether it accurately reflects the codebase.
Experiment 2: Request a small product change
Now make a small request, such as:
Add a descriptive label to the account settings page. Follow the project’s existing UI conventions and tests.
The expected routing is the feature-development workflow.
Observe whether the agent follows the intended development process rather than jumping straight to code generation.
Depending on the workflow and change classification, the process can involve requirement clarification, specialist analysis, review or approval checkpoints, and implementation.
Do not assume every change must execute an identical sequence. A minor change, a defect, and a major feature may require different levels of process.
The purpose of these experiments is to validate workflow routing and instruction discovery before moving on to a more substantial engineering task.
What should your team measure?
Use the first two exercises to establish a simple baseline.
Record whether the intended workflow was selected, whether the agent followed project conventions, whether the proposed change was appropriate, and whether the tests or other verification steps produced useful evidence.
For a first trial, these observations are more meaningful than making broad claims about productivity improvements from two examples.
10. Common Mistakes to Avoid
A few practical mistakes can undermine an otherwise good setup.
Mistake 1: Starting with advanced orchestration
The project provides both a default kit mode and an optional orchestrator mode.
Kit mode uses the installed workflow pack and its IDE integration. Orchestrator mode uses a Python execution engine and has additional setup requirements.
Start with the default kit mode unless you already have a specific requirement for programmatic workflow execution.
Mistake 2: Putting every instruction into the IDE configuration
Large, duplicated instruction files can make an AI development environment difficult to maintain.
Keep the adapter focused on connecting the agent to the workflow. Place reusable skills, specialist instructions, and workflow definitions in the appropriate pack directories.
Mistake 3: Treating the installation as a complete enterprise rollout
Installing the harness does not automatically configure your organization’s security policy, deployment process, test infrastructure, or approval requirements.
Those must be adapted and validated against your environment.
Mistake 4: Enabling every optional capability immediately
The repository includes additional capabilities such as knowledge integrations, plugins, observability, evaluation, memory, and orchestration.
Some advanced areas have separate installation or enterprise licensing requirements.
Do not install them simply because they exist. First establish a working baseline, then introduce the capabilities that solve a specific business or engineering problem.
Mistake 5: Measuring success through code generation alone
Fast code generation is not the same as reliable delivery.
For an enterprise pilot, consider measures such as:
- Percentage of requests routed to the intended workflow.
- Time required to complete a change.
- Test and verification results.
- Rework after human review.
- Number of interventions required.
- Compliance with project-specific engineering conventions.
These measures help establish whether the harness improves the engineering process rather than merely making the agent more active.
11. What Should an Enterprise Pilot Look Like?
Once a single developer has validated the configuration, the next step is to evaluate the approach with a small engineering team.
A sensible pilot can follow this sequence.
First, select one application. Prefer a codebase that reflects your real engineering constraints but does not require starting with a critical production change.
Second, establish common project instructions. Define the application’s architecture at a useful level, actual build and test commands, and the workflow-routing policy.
Third, test representative work. Include a repository question, a small feature, and a defect. Verify that each request takes an appropriate workflow path.
Fourth, review the results. Compare agent output with actual code, tests, review findings, and the amount of human intervention required.
Finally, refine and repeat. Fix gaps in project context, verification instructions, and workflow configuration before extending the setup to more repositories.
For business AI strategists and technology leaders, this is also the point to establish ownership.
Who maintains the workflow pack? Who approves engineering-policy changes? Which controls must remain mandatory? Which aspects can teams customize? And how will the organization evaluate whether the approach is delivering business value?
Those are operating-model questions, not just IDE configuration questions.
12. What You Have Achieved
At this stage, the objective is to have a working foundation:
- The CLI is installed.
- The application repository has been initialized with the harness.
- The selected coding-agent adapter is available.
- Project context and workflow routing instructions have been configured.
- The project’s verification and engagement settings have been reviewed.
- The coding agent has passed basic workflow-routing experiments.
You have not yet built a fully autonomous software delivery platform—and that is intentional.
You have established the starting point for a more structured way of using AI in software engineering.
From here, the natural next steps are to adapt the workflow to your organization’s development process, improve architecture and repository context, and introduce selected capabilities such as knowledge integration, evaluation, and observability where they add value.
The important thing is to build on a validated foundation instead of introducing every capability at once.
Final Thoughts: Start with One Workflow, Not Ten AI Tools
Organizations adopting AI for software development can easily become preoccupied with model selection, IDE features, and the newest coding-agent release.
Those choices matter. But they are not the entire strategy.
The more enduring question is how to make AI-assisted engineering repeatable across teams, applications, and technology stacks.
The AI SDLC Workflow Harness Manager approaches the problem by separating reusable engineering workflows from the coding environment that executes them.
That gives architects and engineering leaders a foundation they can adapt, evaluate, and extend as their approach to AI-driven software delivery matures.
My recommendation is simple: select one repository, configure one supported coding-agent environment, validate two small workflows, and measure the results before scaling.
Start with the open-source repository:
Read the Customer Guide for detailed setup and adaptation instructions.
The objective is not just to help an AI agent write code.
It is to help your engineering organization establish a consistent, reusable way for AI agents to participate in software delivery.
That is where the journey from SDLC to AIDLC starts.
About this series
This article is part of an ongoing series exploring the AI SDLC Workflow Harness Manager and the architectural practices needed to move from individual AI coding assistants toward structured AI-enabled software delivery.
Follow the project on GitHub for updates, documentation, and opportunities to experiment with the open-source workflow kit.






Leave a Reply